Moving to the cloud
So far, we have run the application locally, and then deployed it to the cloud.
However, we could move our workflow even more to the cloud. In the next steps, will build and deploy in the cloud, and set up a cloud IDE afterwards.
For this, you will need an account for the Developer Sandbox for OpenShift.
The following steps assume that you have an active instance, and that kubectl or oc are logged in to this
instance.
|
Normally you have two namespaces pre-created (you cannot create new namespaces): -dev and -stage. We will use the
-stage for deploying the application and leave the -dev to the cloud IDE.
Creating the Quarkus build using Helm
The first step is to deploy the same application, but let the OpenShift cluster build the container image.
We can deploy this setup, using a Quarkus Helm chart:
helm install --repo https://redhat-developer.github.io/redhat-helm-charts \
    my-drogue-quarkus-mqtt-integration quarkus \
--set build.uri=https://github.com/drogue-iot/quarkus-mqtt-integration-starter (1)| 1 | The Git repository which will be fed into the build. You can replace this with your own Git repository. |
Once you ran the Helm chart, the "Developer" perspective of OpenShift should show you the current state:
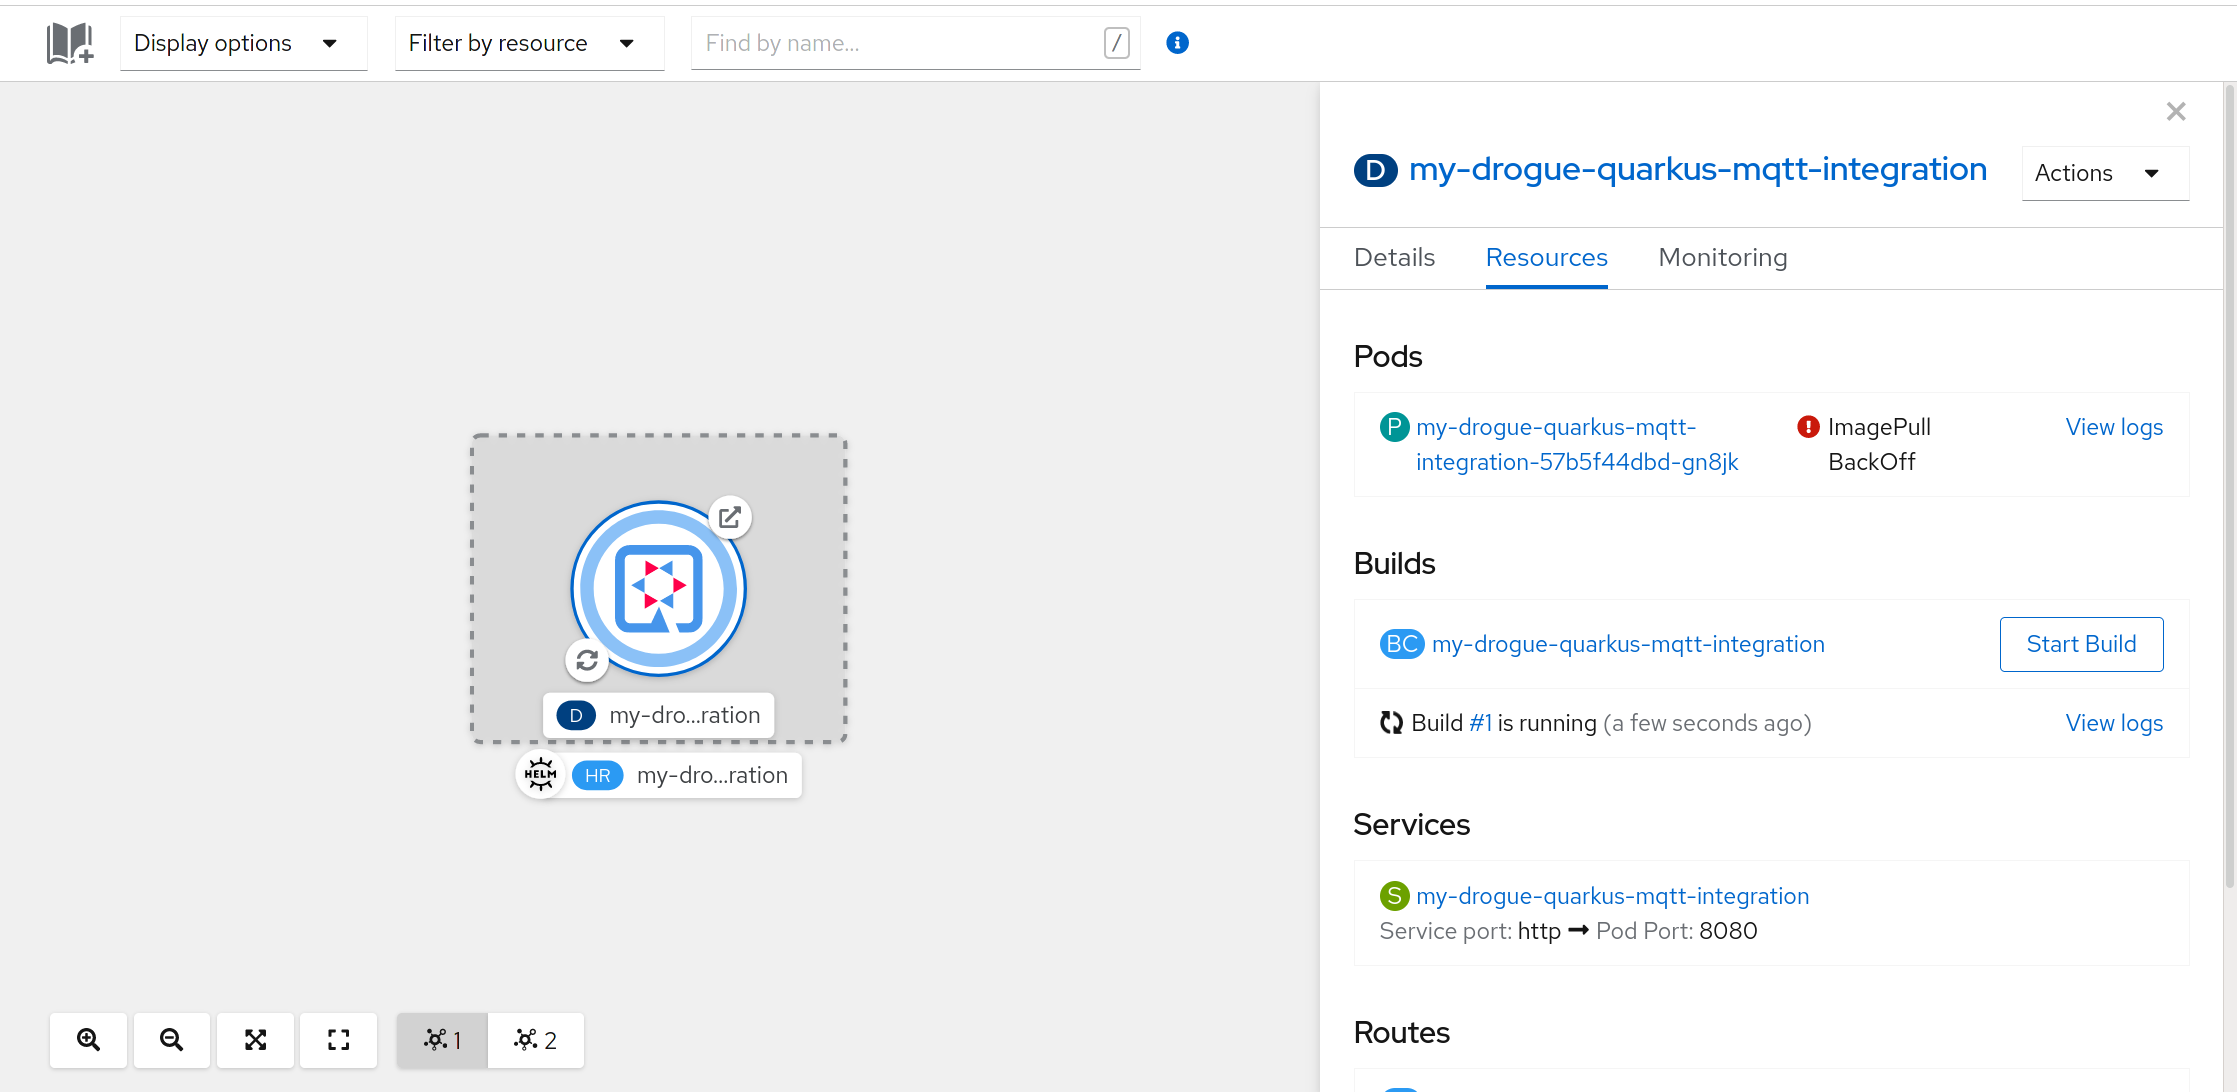
Note the ImagePullBackOff error, that is fine for the moment, as the build isn’t complete yet. Once the build is
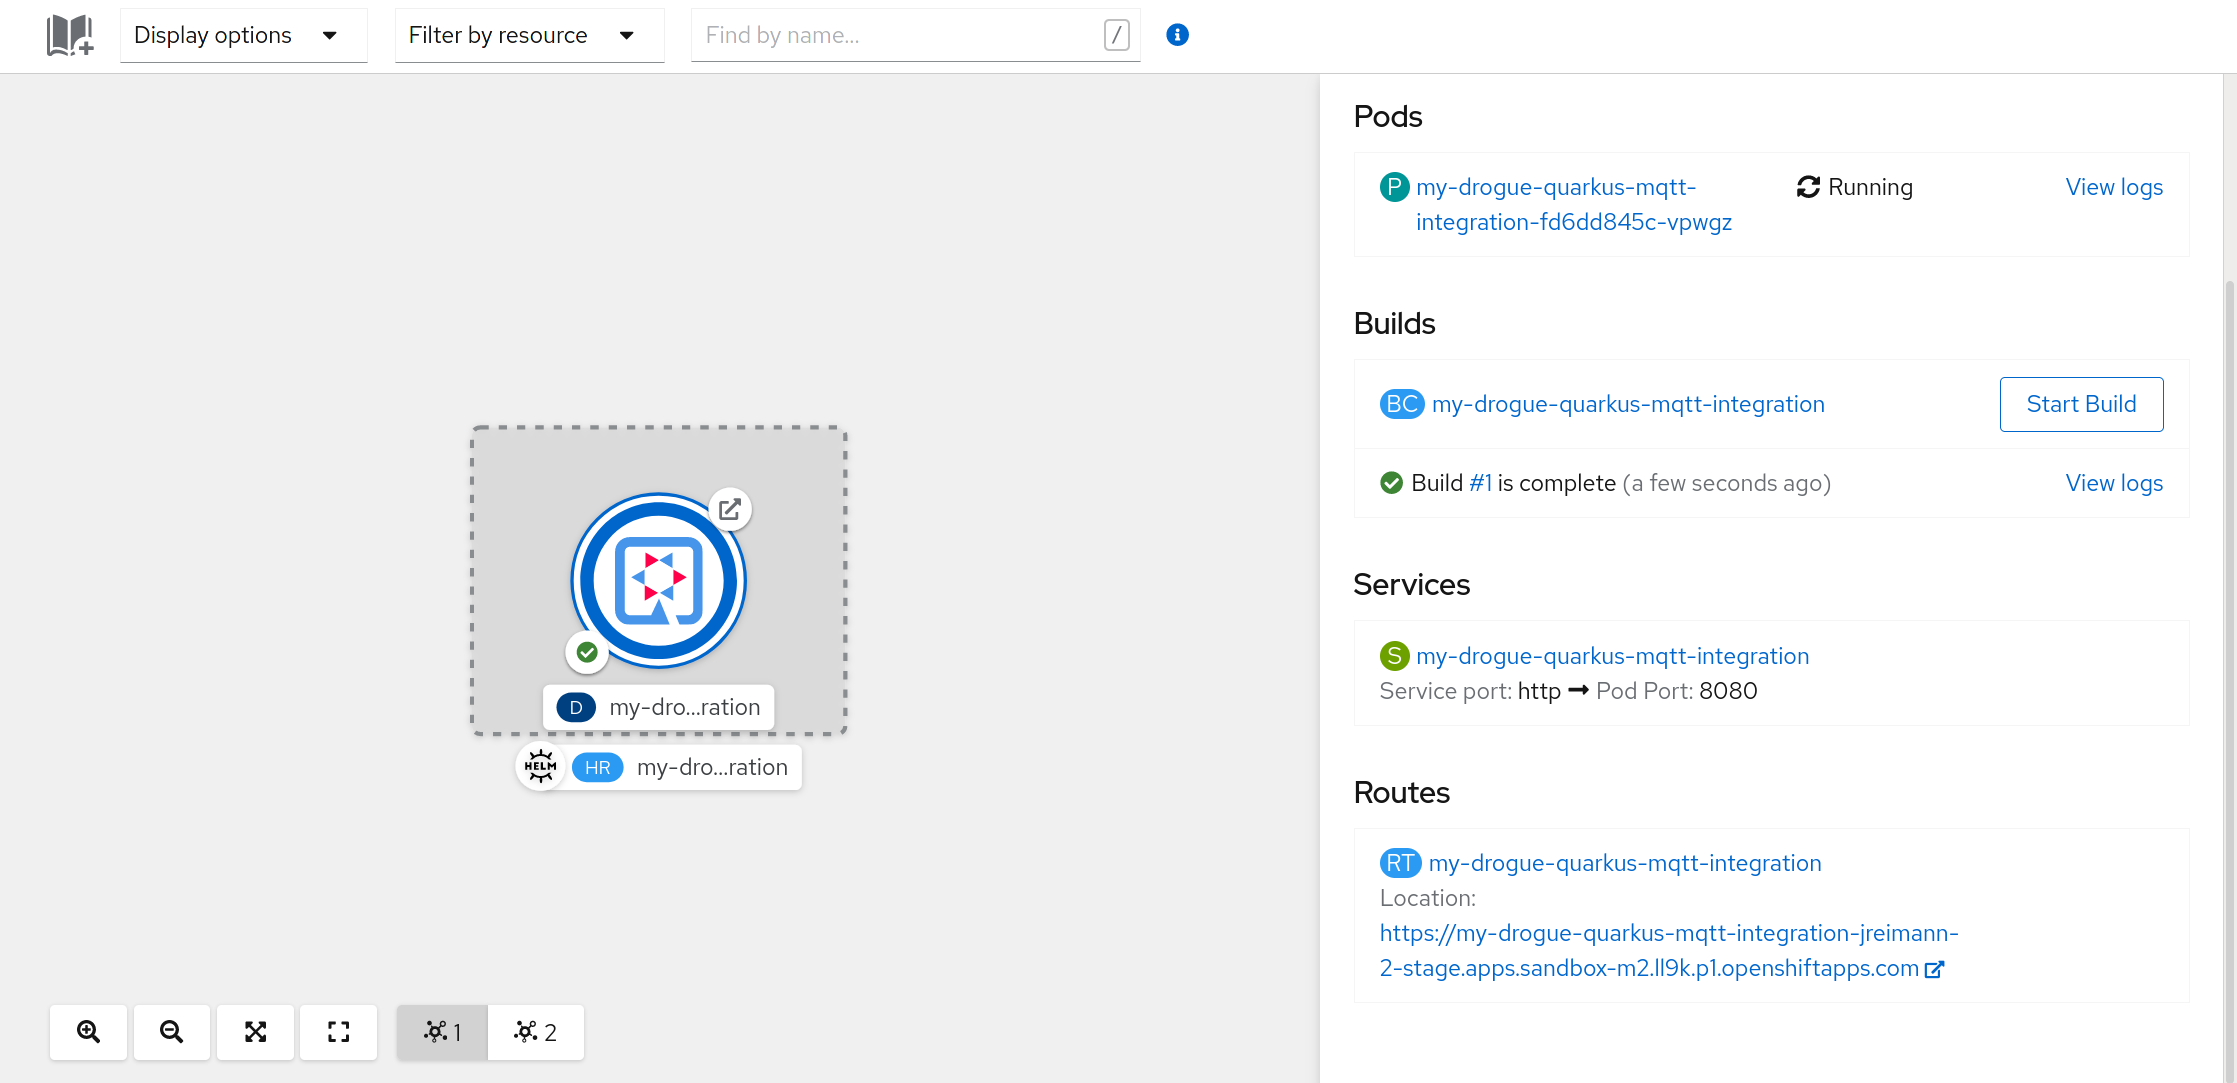
complete, it will trigger a re-deployment and roll out the new (first) version.
Once the deployment has been rolled out, you can also click on the "route" on the right-hand side:
Rebuilding
Trigger a new build is easy: Just click on the "Start Build" button on the right side. You can also trigger a new build from the command line:
oc start-build my-drogue-quarkus-mqtt-integrationThis will start a new build, push the image to the internal image registry, and notify the deployment to rollout a new version once the build is complete.
|
Automatic builds
You can also trigger builds automatically. Whenever you push to your git repository, it will pick up the change and start the whole process for you. However, setting this up is a bit off-topic for this tutorial. But if you are interested, maybe take a look at: Triggering and modifying builds. |
Cloud IDE
Now we can make local modifications, and push changes to our git repository, and build and rollout a new version from that.
Cloud IDEs may or may not be your cup of tea. Anyway, let’s explore what we can do with it.
Getting ready
Navigate to the CodeReady instance on the Developer Sandbox.
From there, you can create a new workspace. Create a new workspace, and use the following URL as "Devfile": https://raw.githubusercontent.com/drogue-iot/quarkus-mqtt-integration-starter/main/devfile.yaml
| By default, the "Devfile", will import the original Git repository. Instead of using the URL for creating the workspace, you can also copy and paste the content of the Devfile into the creation screen, and tweak the repository URL to use your own. |
Starting the workspace may take a minute or two. Once it is ready, it will clone and import the Git repository.
During this process, the IDE might offer you to install additional addons:
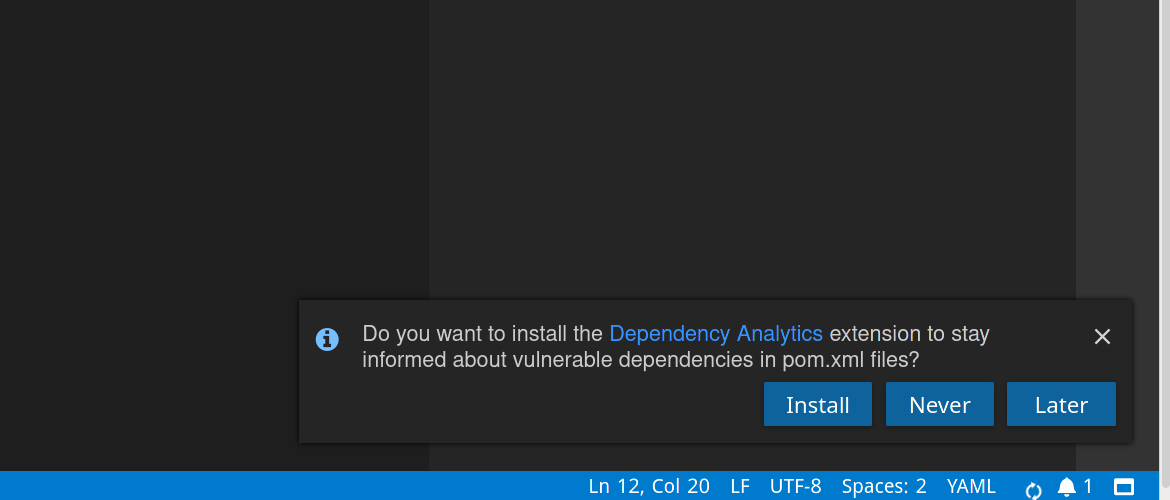
If you like, go ahead and install additional functionality to your workspace. However, all the required plugins are already listed in the "Devfile", and so you can skip these offers as well.
A first build
Once the source code is imported, click on to start a first build. This will trigger an initial Maven build, which may again take a bit until it is compiled:
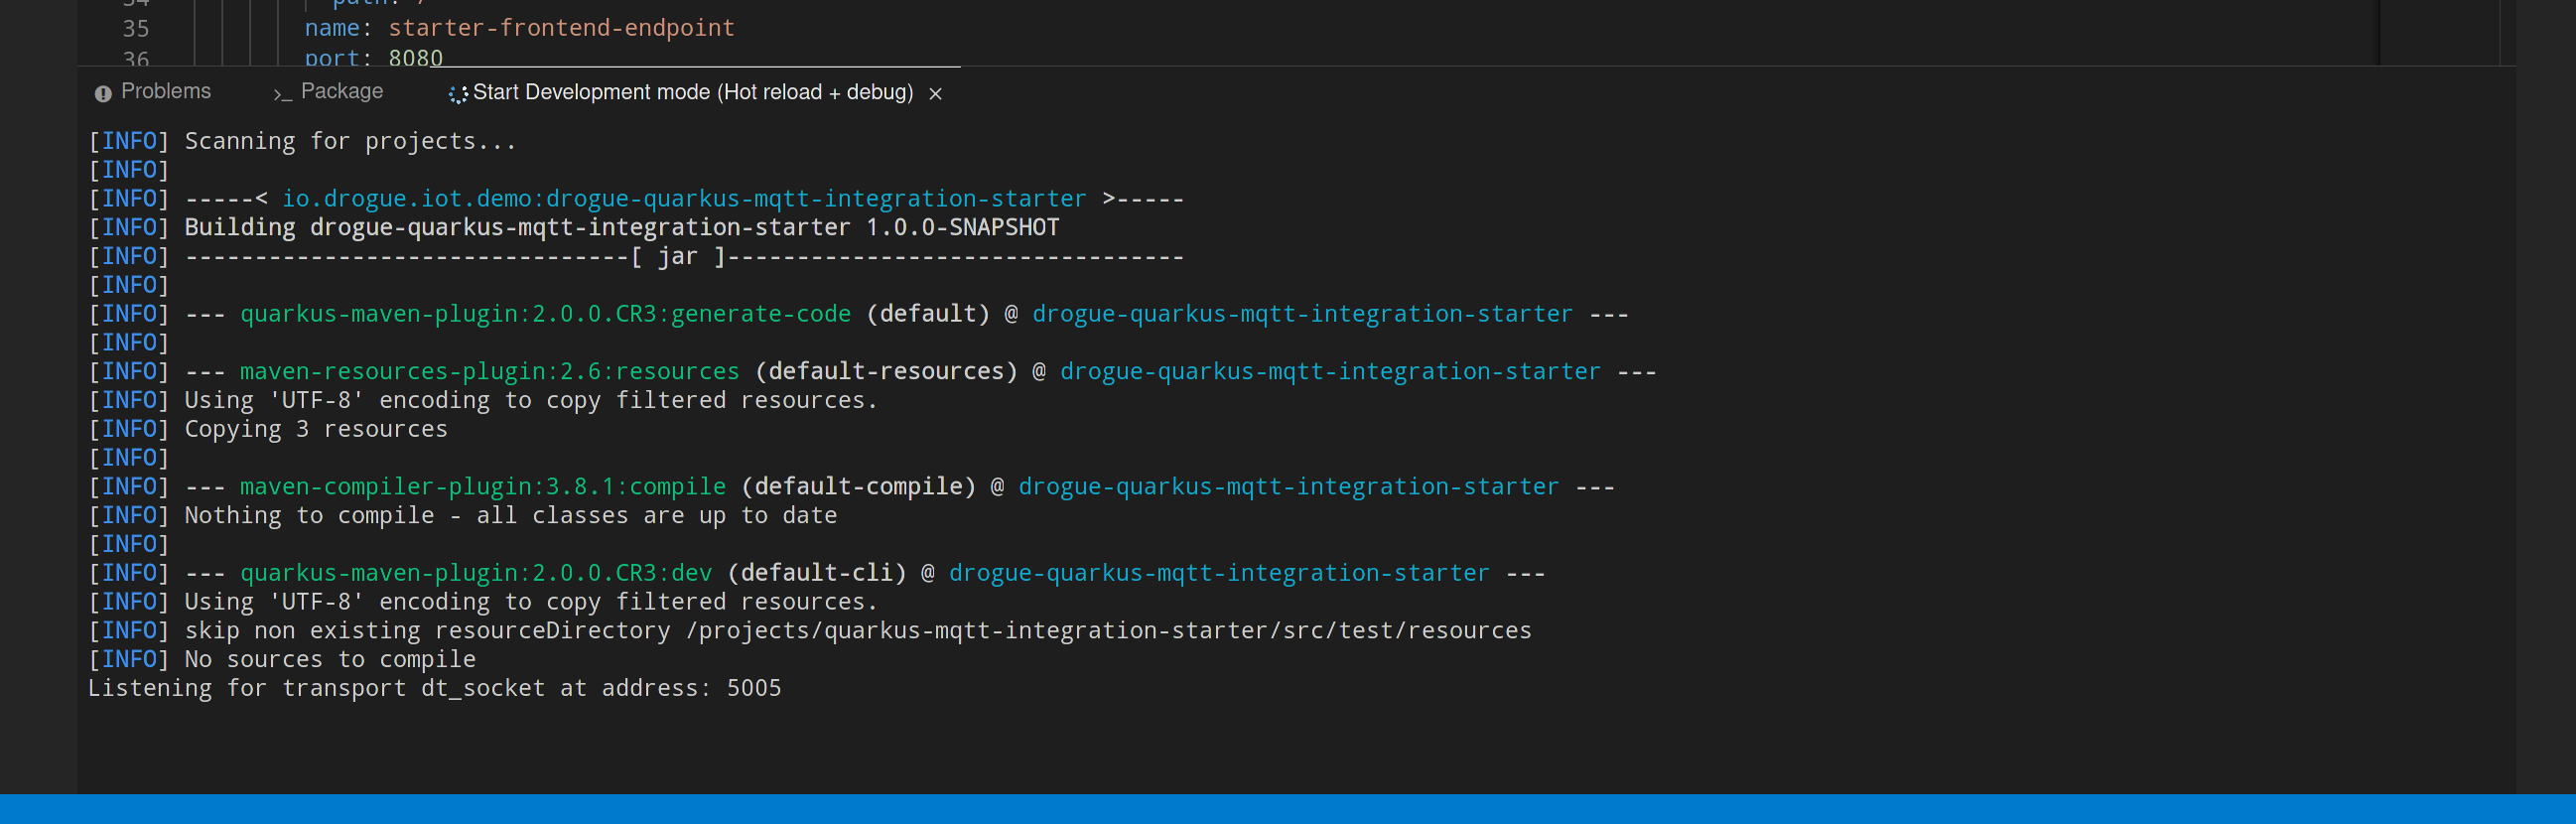
Once the build is finished, the Quarkus Maven plugin will run the application, just like on your local machine. Eclipse Che will ask you if you want to navigate your browser to the started endpoint:
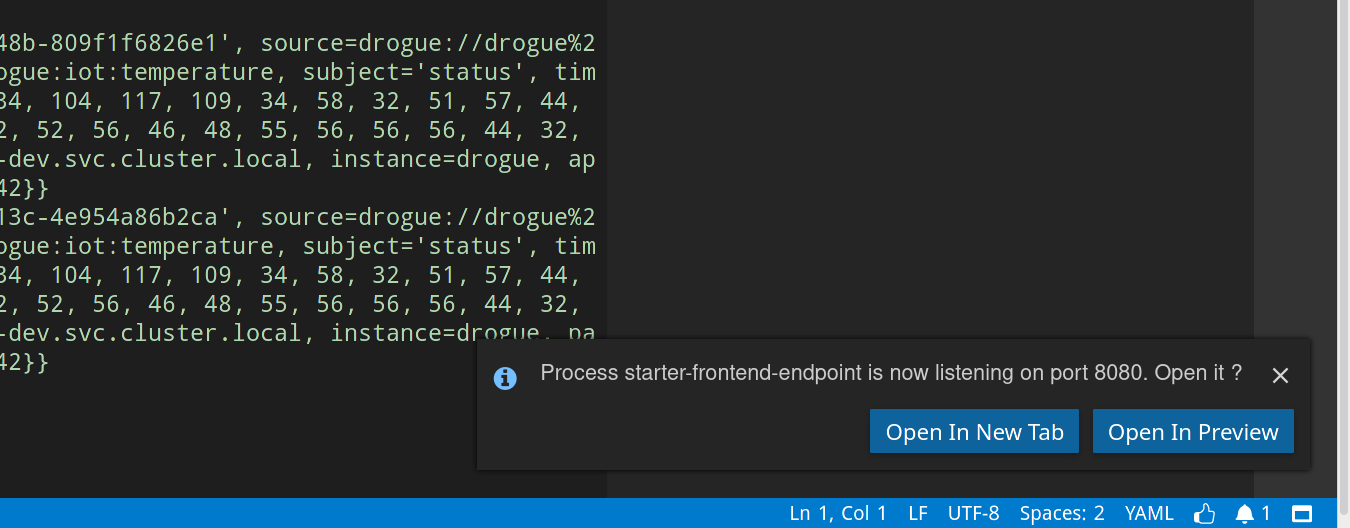
You can click on Open In New Tab to open the web frontend in your browser.
What just happened?
You just built the example on the cluster itself, running inside a cloud IDE. And on the same cluster, you are running the actual application.
Is that better than doing the same on your local machine? Maybe, maybe not. This really depends on your use case and environment. In this case you could simply access the MQTT data stream from a public endpoint. Just assume, that this MQTT stream is not a public one, but hosted inside a local area network. With an on-premise cloud IDE, you could get access from a remote place and develop with the actual stream of data.
And if you set up the Git build trigger, then you can commit and push from the cloud IDE, and start a new build and rollout by doing so.