Node.js application
The last piece of the puzzle is a customer provided application. The application that wants to talk to the device, in order to provide some value-add.
For this implementing we choose Node.js. There are plenty of tutorials on Node.js how to build and interface Node.js application. So in this workshop, we will focus on bridging the gap between enterprise and IoT.
The core idea here is that you use Drogue IoT Cloud as a service. That means, we don’t plan on deploying our application inside the same cluster, but on a separate machine or cluster. Technically you can still do that! We just try to follow a more "as-a-service" approach, and you might see in a minute, that this also makes things easier, as you can run the application on your local machine, or use our sandbox, and still be connected to the public TTN network.
We will be using the MQTT integration of Drogue IoT. This makes things easy, as we don’t need to bridge two Kafka clusters, and still can have multiple consumers. Also, it is possible to just re-use all your tools around MQTT that you already may know about, for testing and debugging.
Creating a Drogue IoT cloud API token
In order to get access to the application through the MQTT integration, we need an OAuth token or API token. As you need to periodically refresh an OAuth token, and most MQTT clients have no idea about that, we choose an API token here[1].
Getting a new API token currently requires to use a command line HTTP client,
like HTTPie or curl. It is a simple operation though, and we will use
drg whoami --token to acquire a fresh OAuth token for accessing the API.
The following examples require you to replace <api-endpoint> with the actual
API endpoint. You can get this from the web console, from the page named "Home":
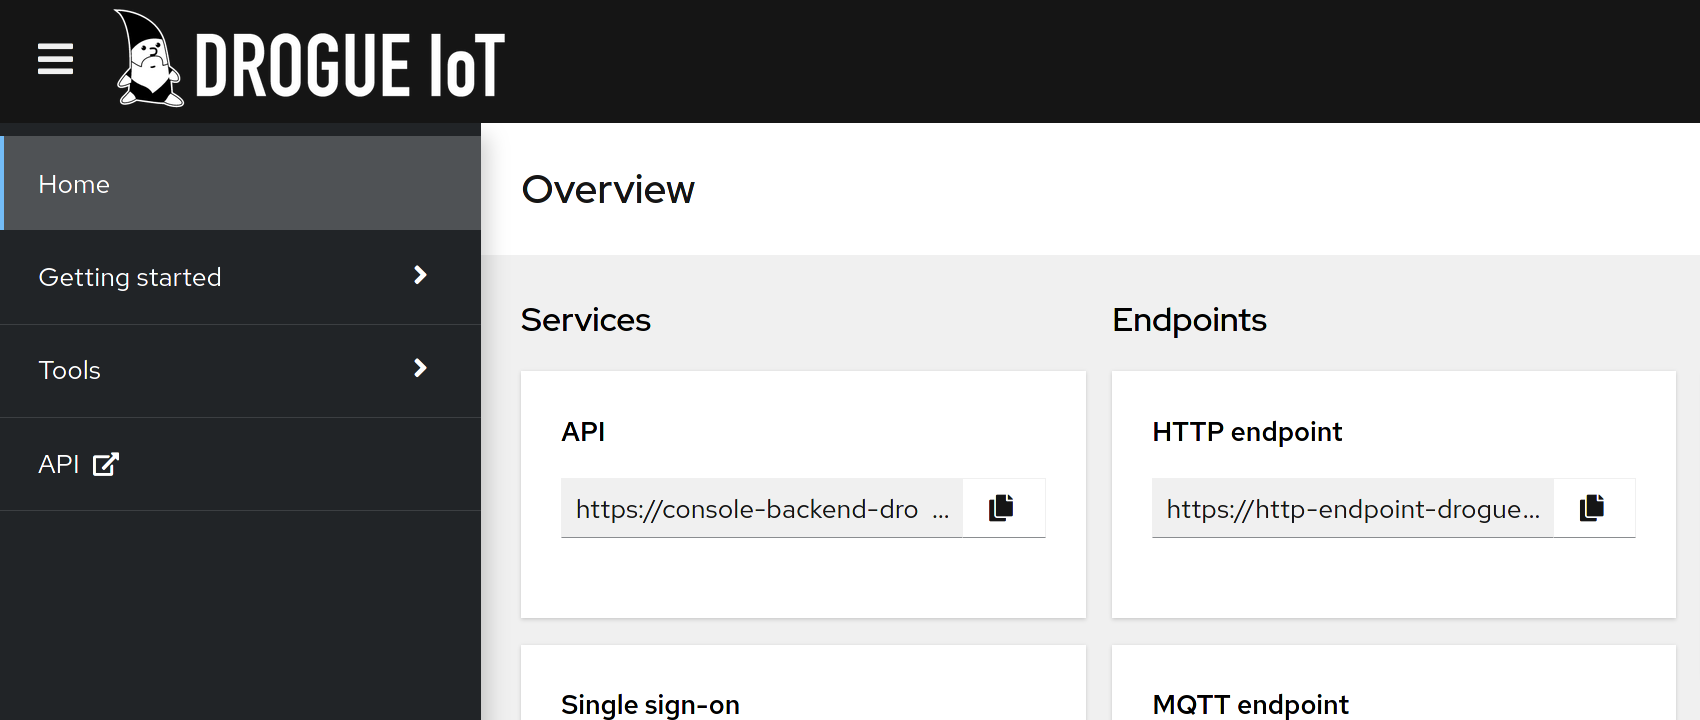
The API endpoint URL is located in the box "API" in the "Services" column.
The following examples will use the command jq to pretty-format that the JSON result of the commands. If can’t
use jq, you can also omit it as is it only used to improve readability of the result.
|
Create a new API token
curl -vs -H "Authorization: Bearer $(drg whoami --token)" -XPOST <api-endpoint>/api/tokens/v1alpha1 | jqThe output should look something like:
{
  "prefix": "drg_g0yAUq",
  "token": "drg_g0yAUq_kwjRLA40hrt81bbKdGbcDOmlq2WASx6UyQi"
}
The value of the field token is the actual API token. You will not be able to
recover this token at a later time. So you need to note (copy) it somewhere. The
"prefix" is used to identity the token, so that you can easily delete it
later on.
List API tokens
You can also list your existing API tokens using:
curl -s -H "Authorization: Bearer $(drg whoami --token)" <api-endpoint>/api/tokens/v1alpha1 | jqWhich should provide you can output like:
[
  {
    "prefix": "drg_g0yAUq",
    "created": "2021-04-28T08:42:59.336402353Z"
  }
]
As you can see, the actual token is no longer part of the result.
Preparing the application
While we provide a ready to run container of this application, this workshop plans to make changes to the source code.
We will start directly by cloning the source code of this example, and run it locally:
git clone https://github.com/drogue-iot/nodejs-mqtt-integration-exampleNext, we need to insert the parameters for connecting the application to the MQTT integration:
Copy the file config_sample.json into a file named config.json and change
the following field:
{
  "drogue.application.name": "<drogue_cloud_app_name>", (1)
  "drogue.api.user": "<drogue_cloud_username>", (2)
  "drogue.api.token": "<drogue_cloud_api_token>", (3)
  "drogue.integration.mqtt.host": "mqtts://mqtt-integration.sandbox.drogue.cloud",(4)
  "drogue.integration.mqtt.port": 443 (5)
}| 1 | The Drogue IoT application name |
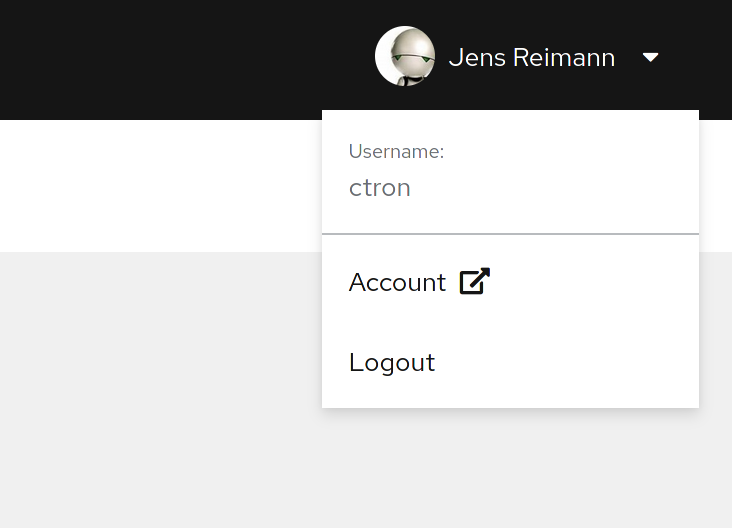
| 2 | Your Drogue IoT username, as described in Finding your username |
| 3 | Your Drogue IoT application token, as described in Create a new API token |
| 4 | The hostname of the MQTT integration. |
| 5 | The port number of the MQTT integration.
While |
Testing the setup
Install the application:
nvm installStart the application:
$ npm start

> nodejs-mqtt-integration-example@1.0.0 start
> node --no-warnings index.js

Server listening on http://0.0.0.0:8080 (1)
Connected to mqtts://mqtt-integration.sandbox.drogue.cloud (2)| 1 | The URL to the web user interface for this example |
| 2 | Note the line "Connected to" showing that the example as connected to Drogue IoT Cloud |
The application will keep running until you terminate it, by pressing Ctrl+C.
Testing it out
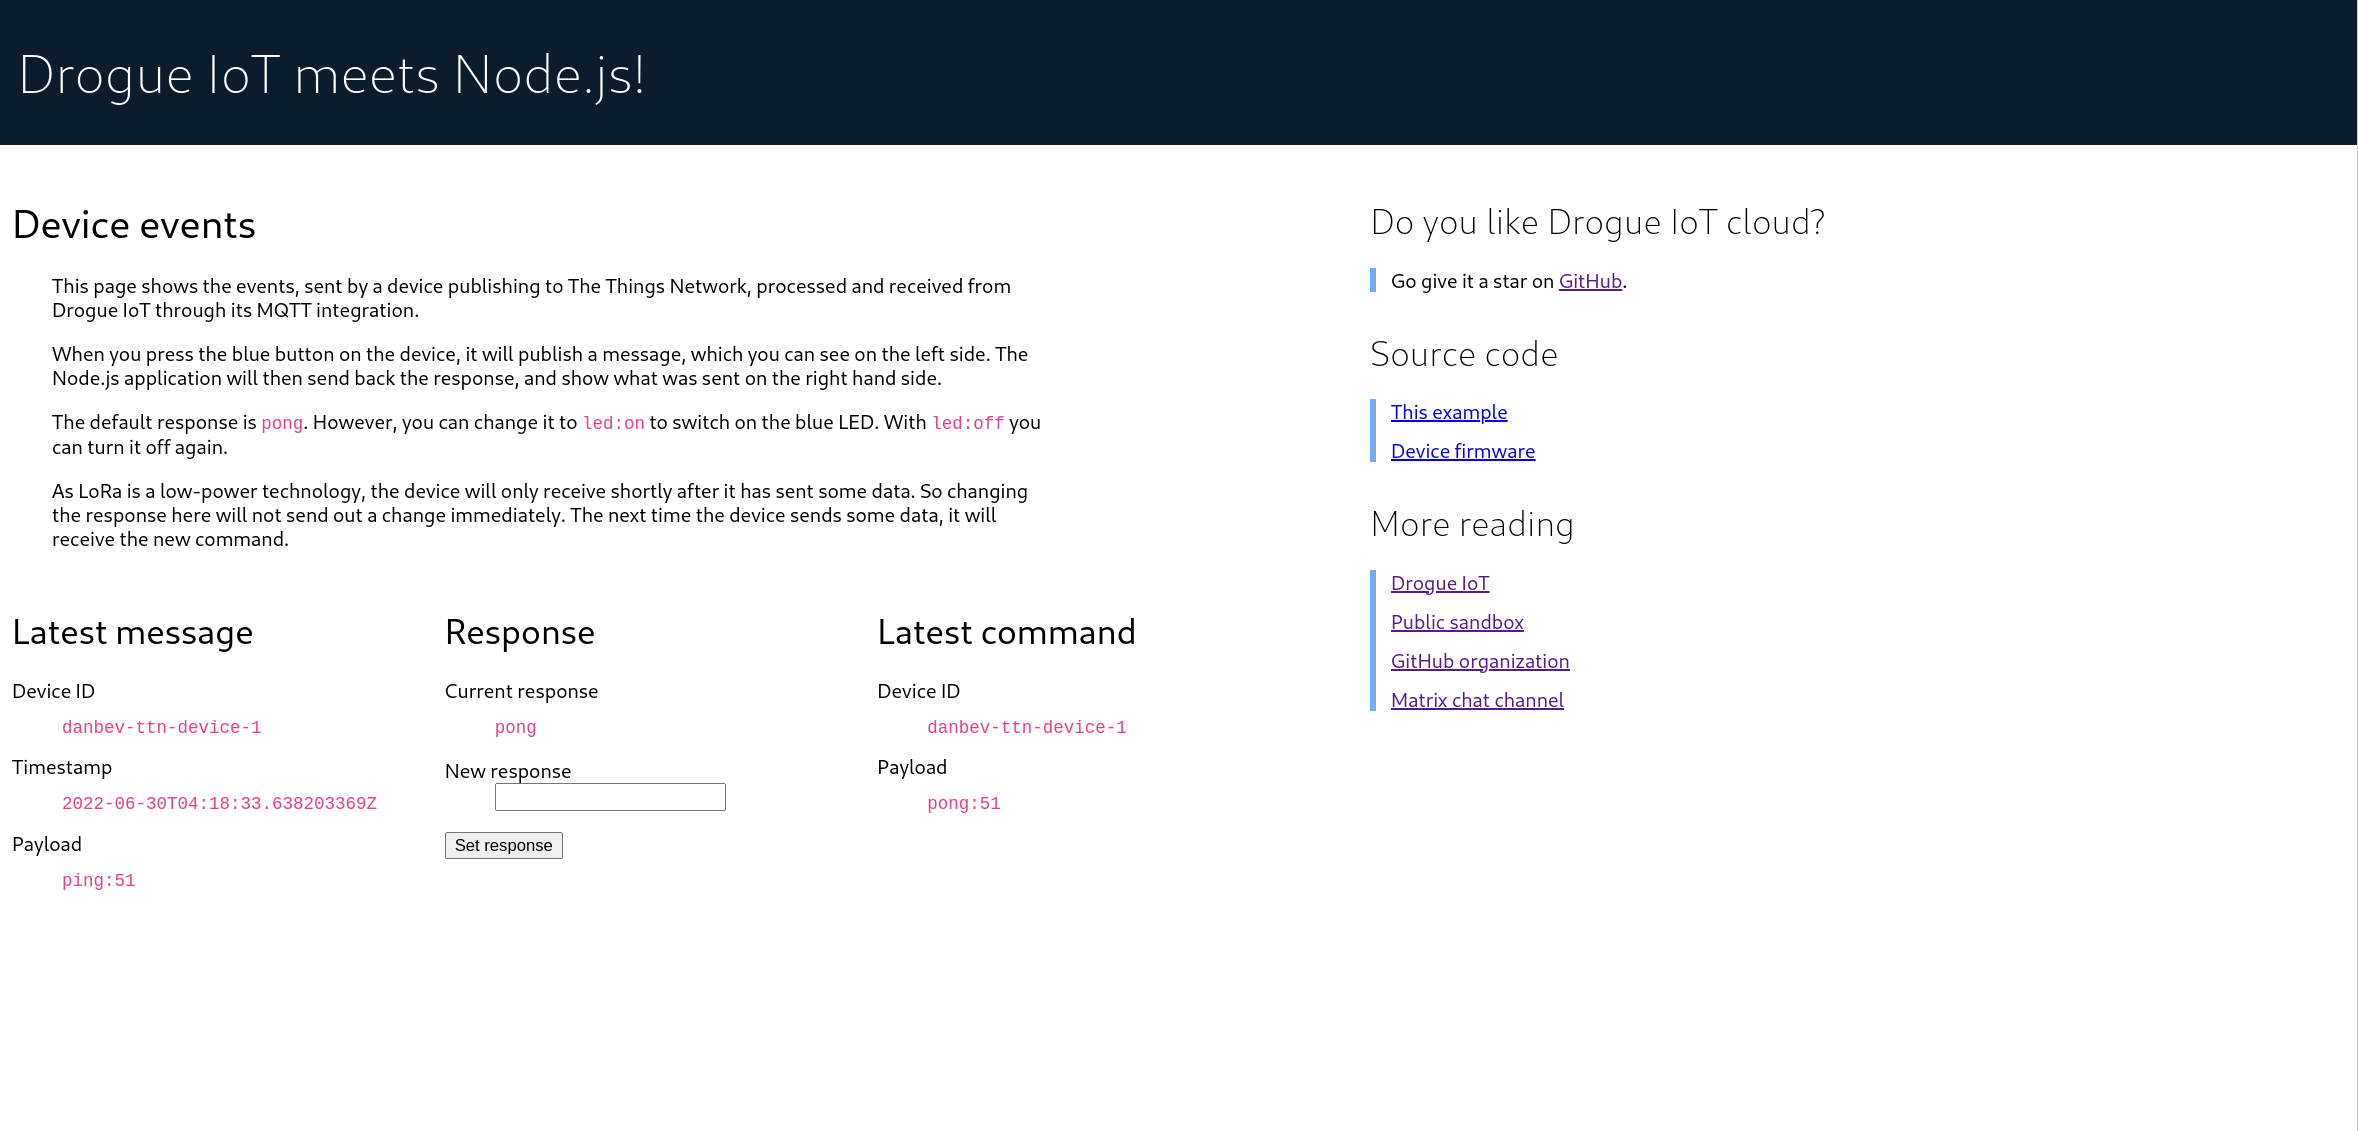
Navigate your browser to the web console, as shows in the previous step’s log output. It should look something like:

Once you press the blue button on the board, you should see an incoming message, and with that, an outgoing message too.
Try changing the response to led:on, and press the blue button again. The blue
LED on the board should turn on, once the green send indicator LED turns off
again.
|
It may be that the blue LED doesn’t turn on. Give it a second try, by pressing the blue button again. Why is that needed? A short period after the uplink (device-to-cloud) message, the LoRa device switches into receive mode, awaiting an optional downlink (cloud-to-device) message. If that time window is missed, then the device will not receive the downlink message, and go back to sleep. We will deal with this later, so read on. |
Understanding the code
Let’s take a quick tour through the code.
The entry point of the application is index.js which configures and starts
a HTTP server, and a MQTT client.
Processing
The http server serves content from the static directory which contains
an index.html file which is shown rendered in the above screenshots. This
file contains a script element which uses Server Sent Events (SSE) to allow
the server to send updates to it. In addition to serving the static content the
httpserver is also written to handle the sending of events (SSE). The server is
built using Fastify and the SSE handling is provided
using fastify-sse.
The MQTT client is used to subscribe to device uplink events, and is also used to publish downlink events.
In lib/mqtt-client.js we have the following function:
  client.on('message', (receiveTopic, message) => { (1)
    const json = JSON.parse(message);
    const framePayload = Buffer.from(json.data.uplink_message.frm_payload, 'base64');

    const event = {
      deviceId: json.device,
      timestamp: json.time,
      payload: framePayload.toString('utf8')
    };
    sse.sendMessageEvent(event); (2)

    if (event.payload.startsWith('ping')) {
      const command = {
        deviceId: event.deviceId,
        payload: getPayload(event, sse)
      };
      sse.updateResponse(sse.lastResponse); (3)
      sse.sendCommandEvent(command); (4)

      const sendTopic = `command/${appName}/${command.deviceId}/port:1`;
      const responsePayload = Buffer.from(command.payload, 'utf8');
      client.publish(sendTopic, responsePayload, {qos: QOS_AT_LEAST_ONCE}); (5)
    }
});| 1 | Function for handling messages from the subscribed Drogue IoT Cloud app topic. |
| 2 | Send SSE event for Last Message part of the UI (left section of the UI). |
| 3 | Send SSE event for Response part of the UI (middle section of the UI). |
| 4 | Send SSE event for Latest Command part of the UI (right section of the UI). |
| 5 | Publishes/sends a downlink command to the Drogue IoT Cloud to Device topic. |