Device firmware
The next step is to compile and flash the device’s firmware.
Clone the Git repository
Clone the git repository with the workshops:
git clone https://github.com/drogue-iot/drogue-workshopsFor the next steps, you will need to change into the sub-directory examples/wifi-websockets-workshop:
cd examples/wifi-websockets-workshop| If you don’t use the iot01a board, you will need to adapt the firmware to match your device and hardware configuration! |
Update the device configuration
For the device to access your WiFi network and Drogue Cloud, you must add the WiFi and device credentials to the ~/.drogue/config.toml file:
hostname = "http.sandbox.drogue.cloud" # Replace with your own Drogue Cloud instance if you are not using the sandbox
port = "443"
wifi-ssid = "..."                      # The WiFi network SSID
wifi-password = "..."                  # The WiFi network pre-shared key
http-username = "..."                  # The device username (I.e. `device1@wifi-workshop`)
http-password = "..."                  # The device password (I.e. `mysecretpassword`)
Compile and flash
You can now compile and flash the firmware. Execute the following command:
| You need to have the developer board attached to your computer. |
DEFMT_LOG=info PROBE_RUN_CHIP=STM32L475VG cargo run --release --features b-l475e-iot01a --no-default-features
You might have an IoT01A board with a different chip, e.g. L4S5VI. Please check your board and use appropriate
value for the PROBE_RUN_CHIP variable , like PROBE_RUN_CHIP=STM32L4S5VI:
|
DEFMT_LOG=info PROBE_RUN_CHIP=STM32L4S5VI cargo run --release --features b-l4s5i-iot01a --no-default-featuresChecking the result
Once you flashed and started the program, cargo run will keep attached to the application running on the development
board. The output should look something like this:
     Running probe-run target/thumbv7em-none-eabihf/release/wifi-websockets-workshop
(HOST) WARN  (BUG) location info is incomplete; it will be omitted from the output
(HOST) INFO  flashing program (164.62 KiB)
(HOST) INFO  success!
────────────────────────────────────────────────────────────────────────────────
 INFO  Starting eS-WiFi adapter!
 INFO  eS-WiFi adapter is ready
 INFO  Started...
 INFO  Joining WiFi network... (1)
 INFO  WiFi network joined
 INFO  Application initialized. Press 'User' button to send data
 INFO  Sending temperature measurement number 0 (2)
 INFO  Connected to 192.168.1.2:8088
INFO Response status: Accepted (3)| 1 | Successfully joined the WiFi network |
| 2 | At this point the HTTP request is going to be sent |
| 3 | The Response status indicates if data was sent successfully |
Pay attention to the output in the event of an error.
The sensor data is automatically sent every 30 seconds. To send a message to Drogue Cloud manually, press the blue button on the board.
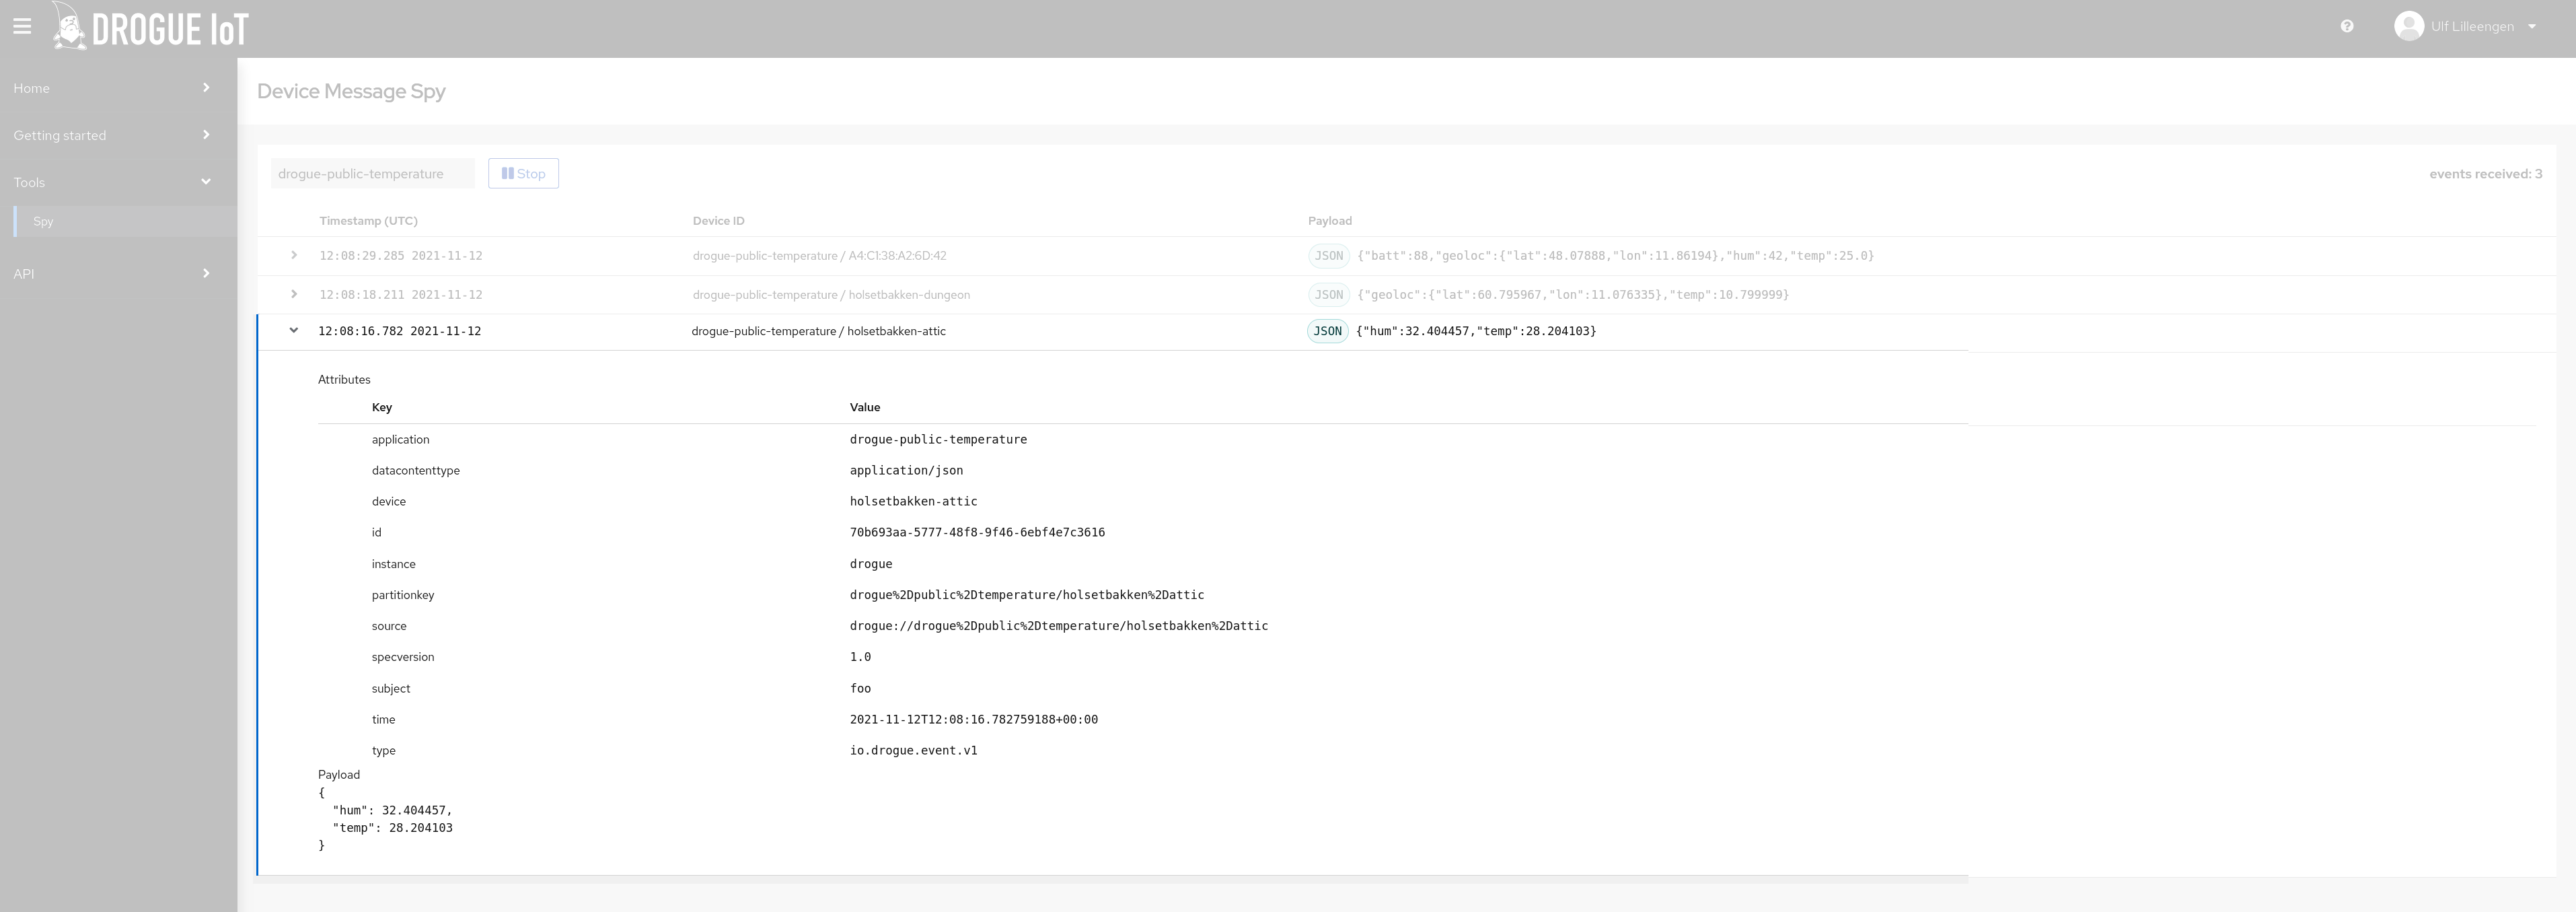
If the device is sending data successfully, we can confirm that the event is processed by Drogue Cloud by opening the web console, navigate to the "Spy", and start it, using the Drogue application name you have assigned earlier.
On the web console, you should see the event, as received by Drogue Cloud.

Troubleshooting
If you’re experiencing problems, try setting the VID:PID values to that of your probe (you can find that from lsusb once your board is powered).
<ENV> cargo run <ARGS> -- --probe <VID>:<PID>Additionally, the B-L4S5I-IOT01A board can have issues with running cargo run multiple times, leading to errors like
Error: An error with the usage of the probe occured

Caused by:
    Operation timed out
If you experience that, the best way to restore the board is to reconnect it and use st-flash utility to write any binary to it, like
st-flash write ../target/thumbv7em-none-eabihf/release/wifi-websockets-workshop.d 0x8000000After reconnecting the board again, you should be able to use cargo run again.
If your application starts but reports errors like
ERROR Error sending measurementyou can run it by using DEFMT_LOG=trace to get more information about the error.